
By the way, as you probably notice, I'm french and my english is not very good so sorry if I don't explain the proper way (and also my photoshop is in french.)
So, first of all, I only work in Photoshop. Time to time I make drawings on paper then scan them but all my last illustrations and designs were made with my wacom intuos and this last one with my all new Cintiq 21UX.
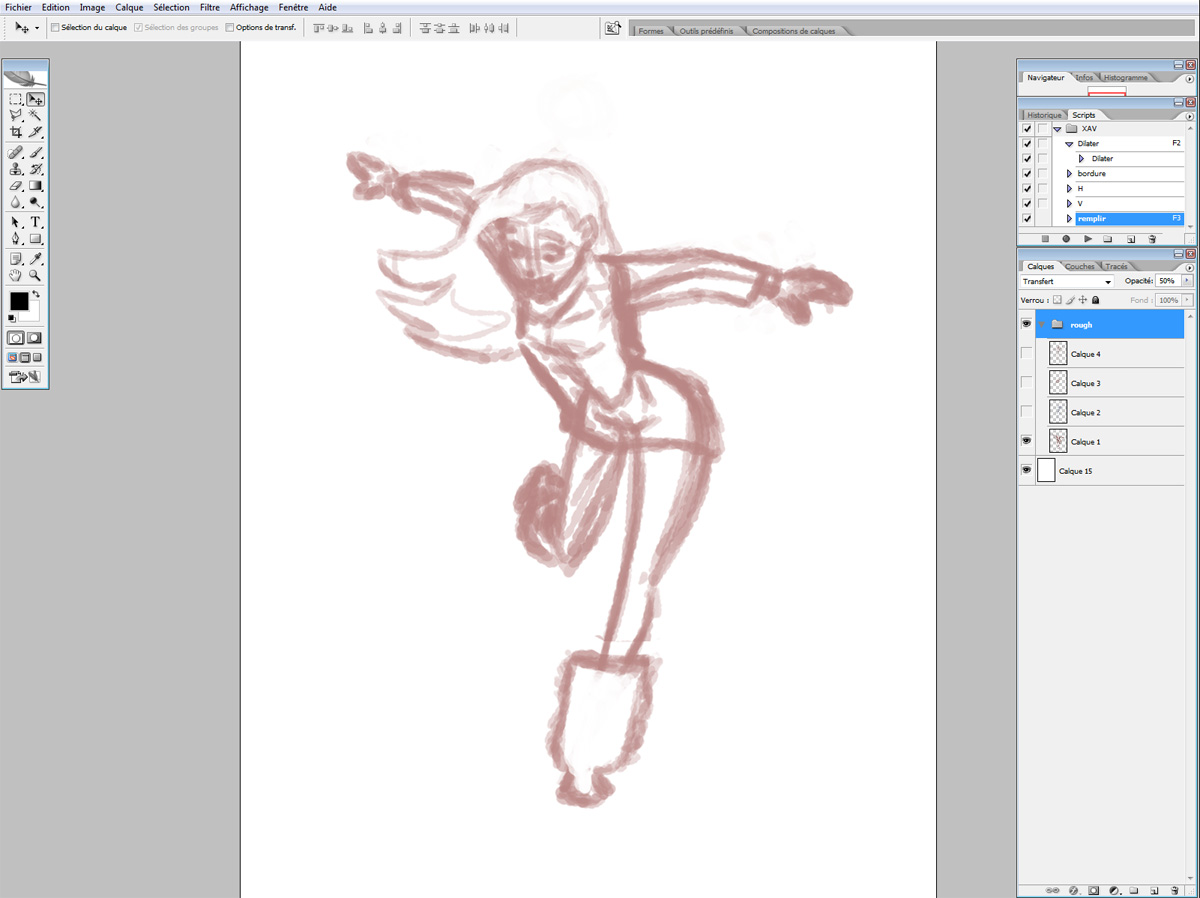
1. The drawing, with a simple home made brush, very rough.
 2. I turn over the drawing and make a cleaner drawing.
 3. I rebuild the tricky parts to be sure of the construction.
 4. I make the final drawing with a clean line and I fix some parts (here the face).
 5. I start the colors with the line above.
 6. Every part (face, jacket, hair, etc) on a separated level.
 7. The face.
 8. cheeks and nose.
 9. I add the lines and other details.
 10. With the gradient tool, I make a subtle color effect.
 11. I set the layer in screen mode and lower the opacity.
 12. I start the background with the basic color.
 13. I add the snow with a brush that looks like snow flakes.
 14. A white gradiant to suggest the snow on the floor.
 15. A quick shadow on the ground to set the character in space.
 16. A quick skyline of Paris.
 17. I add a layer of noise.
 18. I lower the opacity and set it to color burn.
 19. I had a paper texture layer that I colored in light blue before.
 20. I set it to screen and lower the opacity.
 21. I finally add my signature...
 22. And voila !
